2026-10-19 · Drew Thompson
DIY Faucet Repair: Fixing a Leaky Faucet in Your Baltimore Home
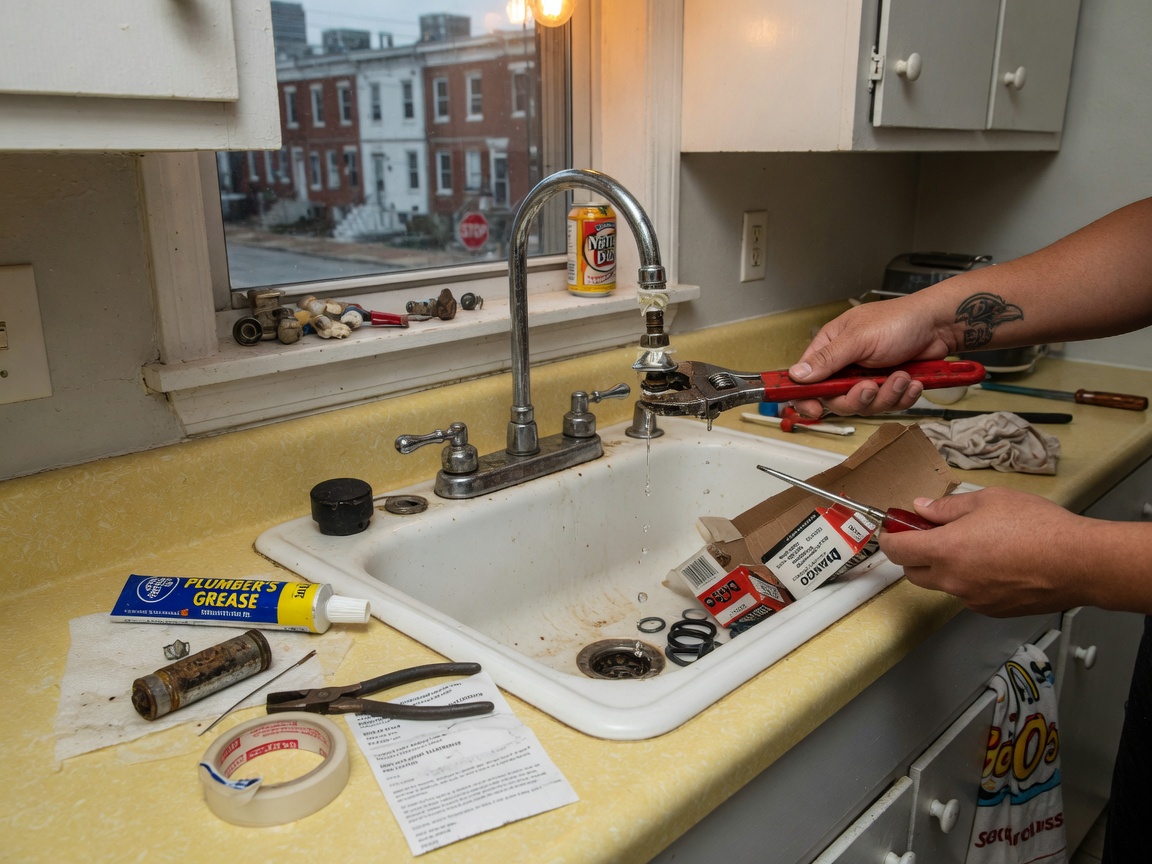
Fixing a leaky faucet in your Baltimore home is often a manageable DIY project, typically taking 30 minutes to 2 hours depending on the faucet type and your experience level. The cost for parts usually ranges from $5 to $30 for simple repairs like replacing a washer or O-ring, but can go up to $100 or more if you need a new cartridge or a more specialized part. While many leaks are straightforward, understanding the type of faucet you have and the specific cause of the drip is crucial for a successful repair. Homes across Baltimore, from the historic rowhouses in Fells Point to the newer constructions in Locust Point, can experience these common plumbing issues, often due to wear and tear from consistent use or mineral buildup from our local water supply.
Understanding Your Faucet Type
Before you can effectively fix a leaky faucet, you need to identify its type. Baltimore homes feature a variety of faucet styles, from older compression faucets common in Federal Hill and Mount Vernon to more modern disc and cartridge faucets found in renovated properties in Canton or Charles Village. Each type has a different internal mechanism and requires a specific approach to repair. Knowing whether you have a compression faucet, a cartridge faucet, a ceramic disc faucet, or a ball faucet will dictate the tools and replacement parts you'll need. For instance, a compression faucet relies on rubber washers to stop water flow, while a cartridge faucet uses a cylindrical cartridge to control water volume and temperature. Misidentifying your faucet type can lead to purchasing the wrong parts or even causing further damage during disassembly.
Common Causes of Faucet Leaks
Most faucet leaks stem from a few common culprits. For compression faucets, worn-out rubber washers are almost always the issue. These washers harden and crack over time, especially with the constant pressure and temperature fluctuations common in a busy Baltimore household. In cartridge faucets, the O-rings or the cartridge itself can wear down. The O-rings provide a seal around the cartridge, and when they degrade, water can seep through. Ceramic disc faucets typically leak when the ceramic discs become scratched or when the seals around them fail. Ball faucets, often found in kitchens, have multiple seals and springs that can wear out, leading to drips from the spout or around the base. Mineral deposits from Baltimore's water can also accumulate on internal components, accelerating wear and tear on seals and washers, making them less effective at preventing leaks.
Tools and Materials You'll Need
Having the right tools on hand makes any DIY faucet repair much smoother. Before you start, gather these essentials: an adjustable wrench or basin wrench (especially for tight spaces under the sink), Phillips and flathead screwdrivers, pliers, penetrating oil (for stubborn screws), plumber's grease (to lubricate new O-rings), and a small utility knife or putty knife. You'll also need replacement parts specific to your faucet type, such as washers, O-rings, cartridges, or ceramic discs. It's a good idea to have a small bucket or rags to catch any residual water, and a flashlight can be invaluable for seeing into dimly lit under-sink areas. Always turn off the water supply to the faucet at the shut-off valves underneath the sink before beginning any work to prevent unexpected floods.
Step-by-Step Repair Guide for Common Faucet Types
Compression Faucet Repair
- Turn off the water supply: Locate the shut-off valves under the sink and turn them clockwise until tight. Turn on the faucet to drain any remaining water.
- Remove decorative caps and handle: Pry off any decorative caps on the handle with a small screwdriver, then unscrew the handle screw and remove the handle.
- Remove packing nut and stem: Use an adjustable wrench to loosen the packing nut. Carefully pull out the stem assembly.
- Replace washer and O-ring: At the bottom of the stem, you'll find a rubber washer held by a screw. Remove the screw, replace the washer, and also replace any O-rings on the stem. Apply plumber's grease to new O-rings.
- Reassemble: Put everything back together in reverse order. Turn the water supply back on and check for leaks. If you're still experiencing issues, it might be time to consider professional Faucet Repair.
Cartridge Faucet Repair
- Shut off water: Turn off the hot and cold water supply lines.
- Remove handle: Pop off the decorative cap, unscrew the handle screw, and pull off the handle.
- Remove retaining clip/nut: Depending on your model, you might see a retaining clip (often a small U-shaped pin) or a retaining nut holding the cartridge in place. Remove it.
- Extract cartridge: Use pliers or a cartridge puller tool to gently pull the old cartridge straight up and out. Note its orientation.
- Install new cartridge: Insert the new cartridge, ensuring it's oriented correctly. Replace the retaining clip/nut, handle, and decorative cap.
- Test: Turn the water back on and check for leaks. If the leak persists, the issue might be with the faucet body itself, or perhaps the O-rings at the base of the spout if the leak is there.